Debug an android application wirelessly
We all know how to debug or run an android application into android devices using cables. But as this world is turning everything to wireless, so do we can do the same with over android development by going wireless.
Going wireless can help us from all the wire related inconvenience like loose wire cables that disconnect your device from a computer while debugging an app.
To overcome this issue there is a simple way to connect the android device with our computers using ADB (Android Debug Bridge) over Wi-fi. You need cable for the initial setup for once and make sure that the android device and computer connected to the same Wi-Fi network.
To connect a device with a computer wirelessly one needs to follow the below steps :
STEP 1.) Connect the android device with same wi-fi network to which your computer is connected :
Connect the device with a computer via USB Cable (for initial process). Make sure that both the android device and ADB hosted computer are on the same network and the USB debugging is working.
STEP 2.) Check the connected devices list in computer :
Connect the android device to the computer using USB Cable. Open the Command Prompt Console. You can get the connected device list by executing the command : adb devices.
Open Android SDK > platform tools directory and copy the whole directory path.
Go to CMD or Android studio terminal and change the directory to platform-tools.
Command Prompt SCREENSHOT
Now one can use ADB command so enter the command "$adb devices" to fetch the list of connected android devices via USB cable.
List of connected devices :
RZ8M61FSHAX device
STEP 3.) Restart TCP Mode :
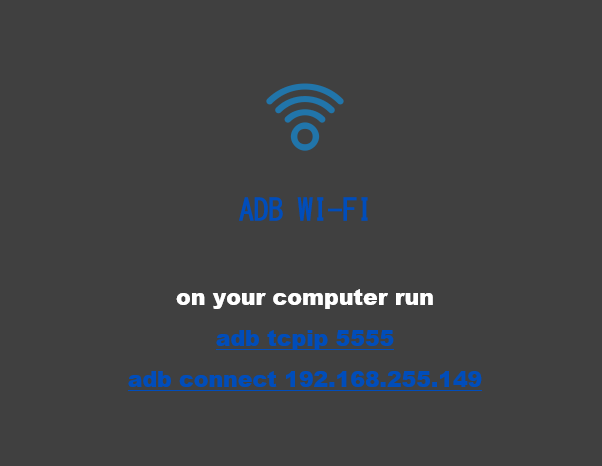
Execute command $ adb tcpip 5555 into cmd.
restarting in TCP Mode with port 5555.
Execute command $ adb tcpip 5555 into cmd.
restarting in TCP Mode with port 5555.

STEP 4.) Find the IP Address of connected mobile device :
Find out the IP address of the Android device:
Long press on Wi-Fi icon of mobile device, it will take you to available Wi-Fi list, from there click on the connected Wi-Fi connection which will show you the properties of the Wi-Fi connection.
Note the IP Address of your device and connect it to ADB host. Execute the below command for connecting your below device.
$ adb connect 192.168.255.149
connected to 192.168.255.149:5555("192.168.255.149" is IP Address while "5555" is the port number).
You can remove the USB cable and still the device will be connected wirelessly via TCP mode.
If the device is not found connected then reconnect it using previous step's command.
Now your device is connected to computer without any wire and ready to be used to debug applications over Wi-Fi network.
Now your device is connected to computer without any wire and ready to be used to debug applications over Wi-Fi network.
STEP 7.) DISCONNECT DEVICE FROM THE COMPUTER :
Execute the command $ adb disconnect 192.168.255.149 into CMD (Command Prompt) or android studio terminal.
BOTTOM LINE :
Connecting the android device with computer using USB cable can lead to damage phone battery or USB cable pins because of continuously inserting and removing the cables from mobile phone.
Also, in some scenarios we need our mobile phone to roam far from computer while debugging in cases like debugging the sensor or beacon integrated apps, in such case debugging via cable can be quite difficult.
So to make your debugging process hassle-free and enjoy the power of wireless, please follow the above listed steps.
To get depth understanding about this please visit to below website.


Comments
Post a Comment